Hi friends in this video learn how to plan and set up a gravity-fed drip irrigation system for your garden. In this step-by-step guide, you will learn how to plan, design, and build your drip irrigation system for your garden.
▼Buy @ Drip Irrigation Parts▼
Vishwajeet Agro Engineers (Netafim Drip Irrigation Parts)
Mr. Rajesh R. Yadav
+91 9420792424
▼Scan @ Video Index▼
- 00:00 Intro
- 0:53 Things Required
- 4:31 Design and Plan The System
- 7:36 Connect The Drip Line Together
- 11:52 Anchor Drip Emitter in Container
- 13:08 Hide Drip Line Behind the Grow Bag
- 13:47 Final Look of Drip Line
- 14:08 Plastic Rope to Support Reservoir
- 14:44 Test Run of Drip Line
- 15:54 Adjust the Drip Line Height
- 17:24 Redesign Reservoir Support System
- 18:08 Final Working of the Drip Line
Things Required
Drip Pipes and Drip Emitter
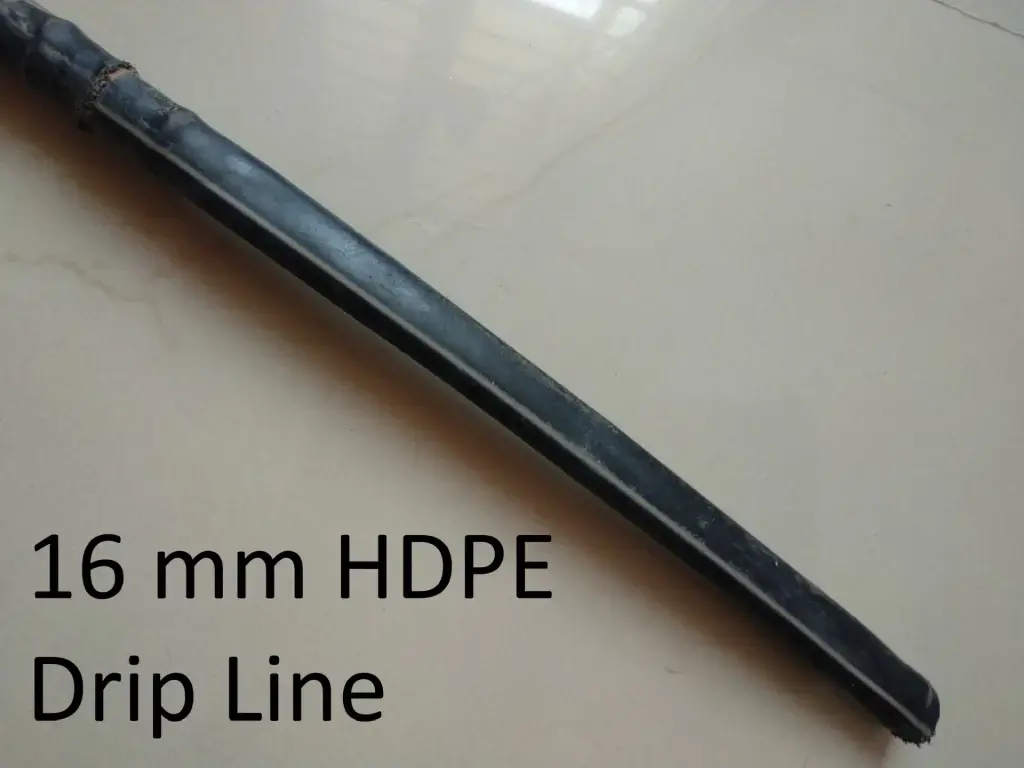
- 16 mm UV Protected HDPE Drip Line
- This is the main drip irrigation pipe that will supply water to all the drip emitters.
- 4 mm UV Protected LDPE Feeder Line
- This pipe from one end is connected to the main 16 mm drip line and on the other end, the drip emitter is attached to your growing container.
- Drip Emitter
- This is the main drip creation device, use a high-quality one that automatically unclogs and creates drops instead of streams.
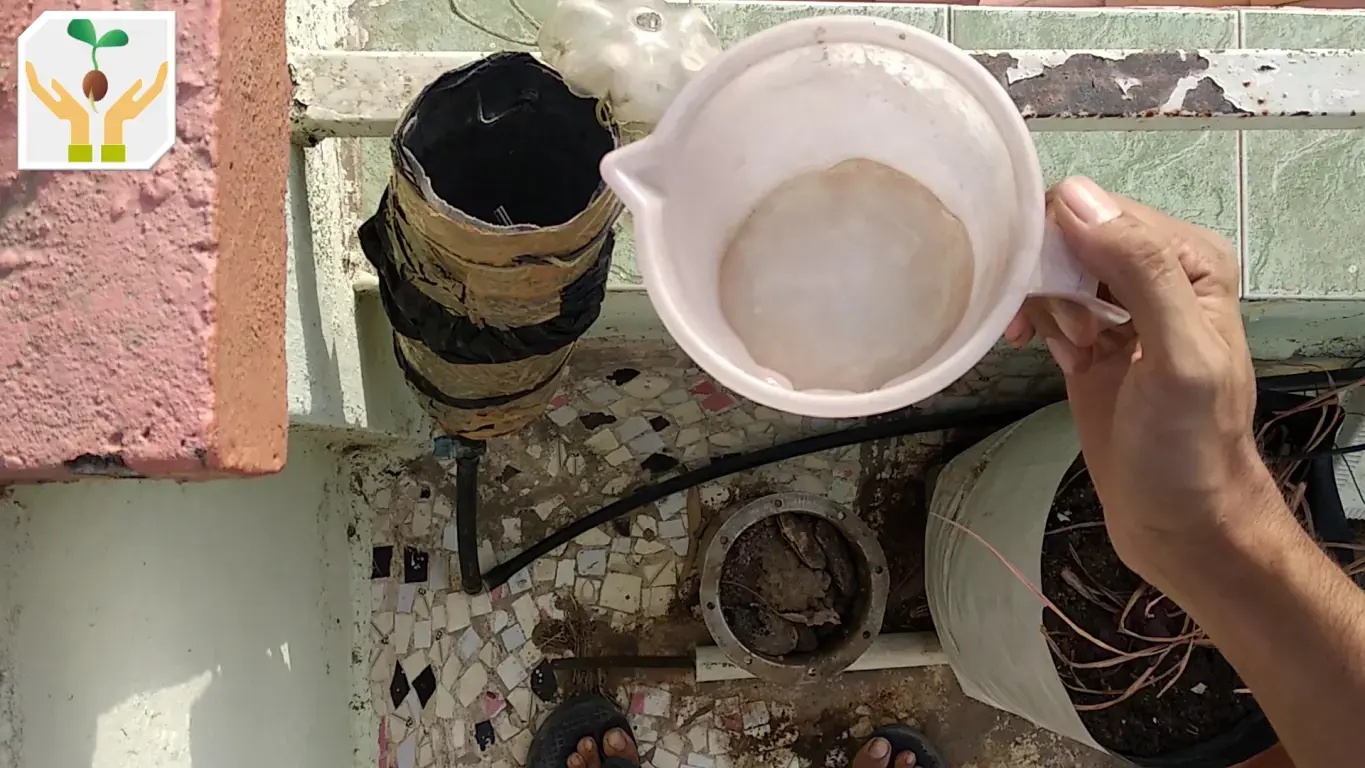
Water Reservior
- Two 2 Liter Soda PET Bottle Reservoir
- We will be using this to store the water for our gravity-fed drip irrigation system.
Connectors
- 16 mm Tee Connector (Optional)
- This is used when you want to split the main 16mm drip line into different sections.
- 16 mm Straight Connector
- This allows for the extension of the 16 mm drip line by connecting the pipe in a straight direction.
- 16 mm Elbow Connector
- If you want to bend the 16 mm drip line then this connector is used.
- 4mm T Connector (Optional)
- Using this connector you can attach two 4 mm feeder lines to a single hole in the 16mm drip line.
- 4mm Pin Connector
- To connect a single 4 mm feeder line to a hole in the 16 mm drip line use this connector.
Miscellaneous
- Drip Line Hole Punch Tool
- This is used to punch holes in the main 16 mm drip line to connect the 4 mm feeder line.
- Arrow Emitter Stakes
- This helps to anchor the 4mm feeder line in your growing container.
- End Cap
- This is used to seal the 16 mm drip pipe end to create pressure for the drip irrigation system.
- 3/4 Inch Screen Filter (Optional)
- If the water you revive contains a lot of particulate impurities then you will need to filter it using this to prevent clogging the drip emitter.
1. Design and Plan The System
- Decide your container garden location based on the amount of direct sunlight and the amount of shadow needed depending on ambient temperature.
- I have placed my grow bags facing the east this ensures that it receives full morning sunlight.
- In the evening when it gets very warm in Ahmedabad the terrace parapet wall will provide shade to the plants.
- Decide on the location, height, and support system for your water reservoir.
- Count the number of planters you will be connecting to the drip irrigation system and accordingly calculate the number of drip emitters and length of 4mm feeder pipe required.
- Measure the total length of the 16 mm drip line required to cover your entire growing area and the water reservoir.
- After making all the measurements cut the required length of 16 mm drip pipe and 4 mm feeder pipe.
2. Connect The Drip Line Together
- Join the entire drip irrigation system together using the different connectors based on your requirements.
- You can use a cigarette lighter to heat the 16 mm drip pipe slightly to easily insert the fittings without a lot of effort.
- Also, use gloves to protect your hand from blisters caused by excessive friction between the drip pipe and your skin.
- To connect connectors use a rocking motion with a forward push to firmly connect the drip pipe and the connector.
- Using the drip line punch tool create the holes where you want to connect the drip emitter to your planter.
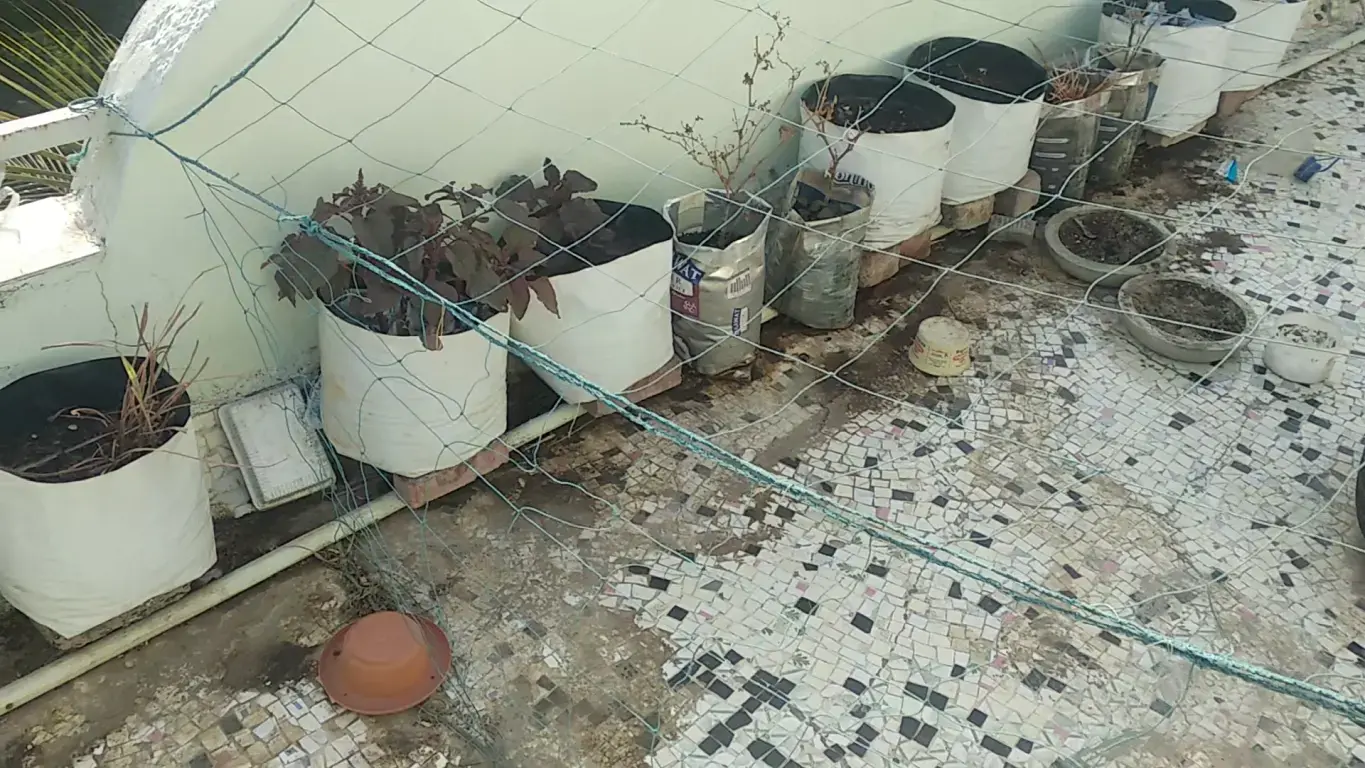
3. Hide Drip Line Behind the Grow Bag
Place the drip pipe behind the grow bags to make it more aesthetically pleasing by hiding the pipes from view.
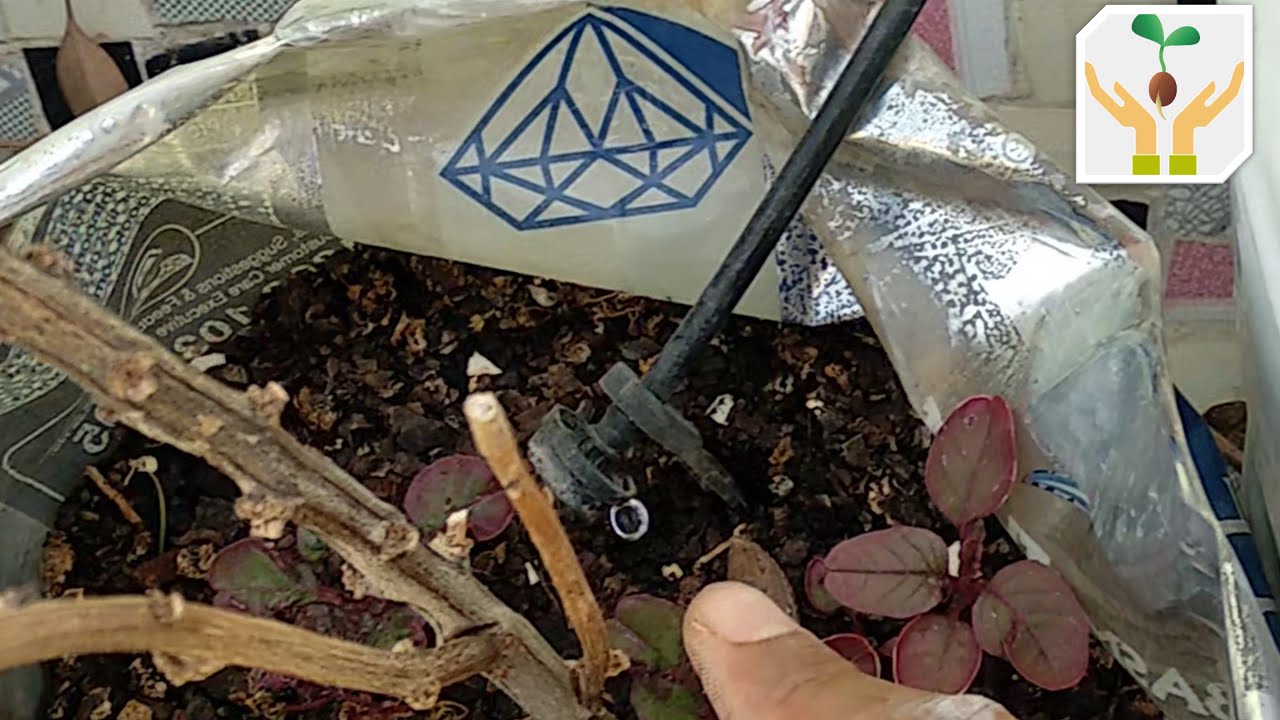
4. Anchor Drip Emitter in Container
Using the arrow emitter stakes firmly attach the drip emitter to the planter.
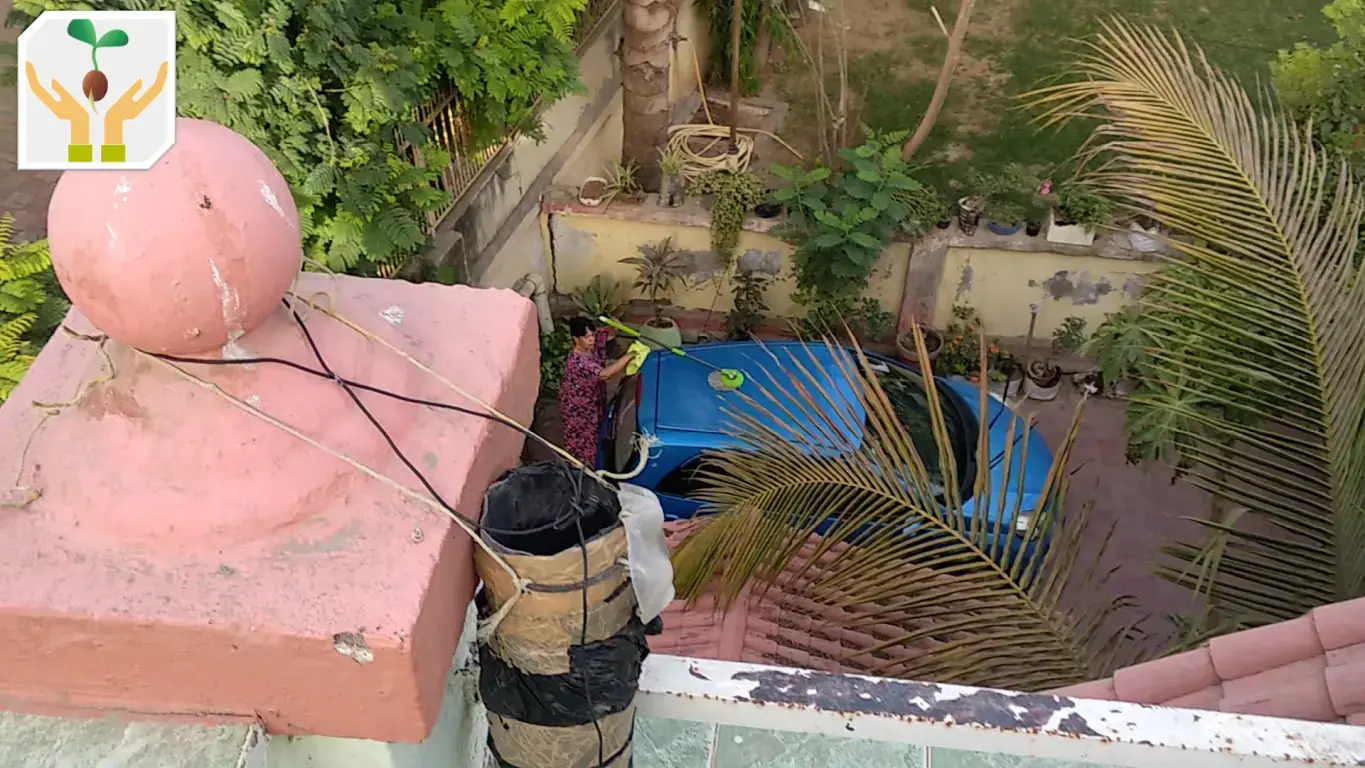
5. Plastic Rope to Support Reservoir
Use a plastic rope to tie the water reservoir created from a 2-liter PET soda bottle to a supporting structure.
6. Adjust the Drip Line Height
- You might need to adjust the height of your drip pipe and water reservoir to ensure all the drip emitters are working.
- This is because of the small pressure difference created by a gravity-fed drip irrigation system where the reservoir is not placed very high.
- This results in some drippers working whereas others running dry.
- I was able to fix this problem by increasing reservoir height and making sure that the drip pipe height is the same throughout.
- You can support the drip pipe by placing it between the grow bags and the wall.
7. Redesign Reservoir Support System
- I have increased the reservoir height by taking support from the concrete design on my terrace parapet
- The second wire provides support to the second 2-liter bottle which is placed on top of the first like a mineral water bottle dispenser system.
8. Final Working of the Drip Line
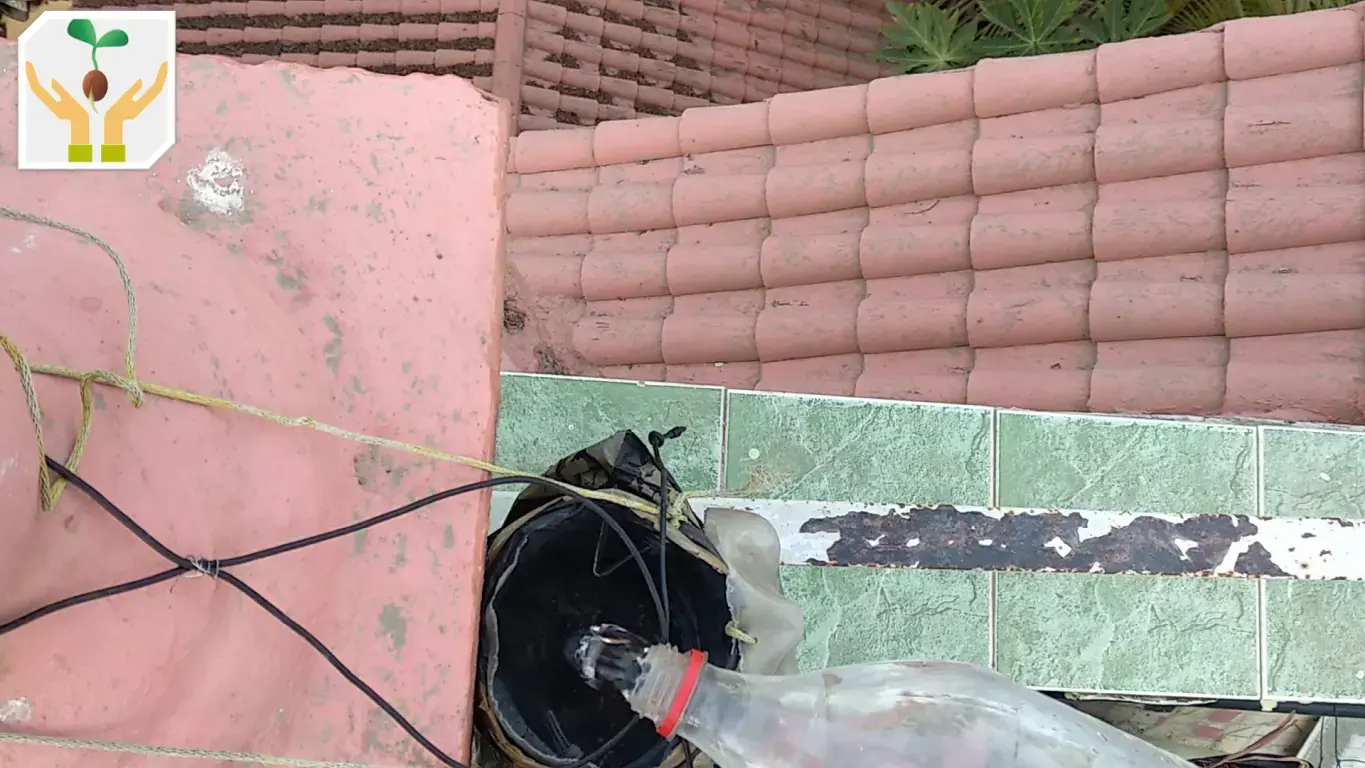
Now fill the reservoir with full 4 liters of water and sit back and enjoy your gravity-fed drip irrigation system.
As the water is emitted from the drippers you will see air bubbles rise in the top mineral water bottle just like what happens in a mineral water bottle dispenser.
I hope friends, you liked this step-by-step guide on creating a gravity-fed drip irrigation system for your garden. Hope using this guide you will be able to easily set up your own drip irrigation system. Don’t forget to share this video with your friends and family. If you liked this, you might also like our other gardening-related content. Make sure to subscribe to our YouTube channel or join our mailing list to be alerted as soon as a new video is released. Thanks for watching friends see you later bye.