In this video learn about the benefits of using a garden sprayer for plant irrigation. Create your own DIY garden sprayer using scrap materials.

▼Scan @ Video Index▼
- 00:00 Intro
- 0:19 Seed Starting Using Spray Bottle
- 0:48 Use Thin Mineral Water Bottle Caps
- 1:14 Benefits Of Irrigating using Spray Bottle
- 2:14 Irrigating Shallow Pot using Spray Bottle
- 3:01 Things Required
- 3:48 Make a Garden Sprayer
Seed Starting Using Spray Bottle

A spray bottle is very useful in seed starting. Especially if the seeds are tiny. Using the sprayer you can be sure that once seeds are sowed the water will not dislodge them. After the tiny seedling emerges. You can still water them using the spray bottle. This is because the stream of water is so thin that it can not disturb the seedlings.
Benefits Of Irrigating using Spray Bottle
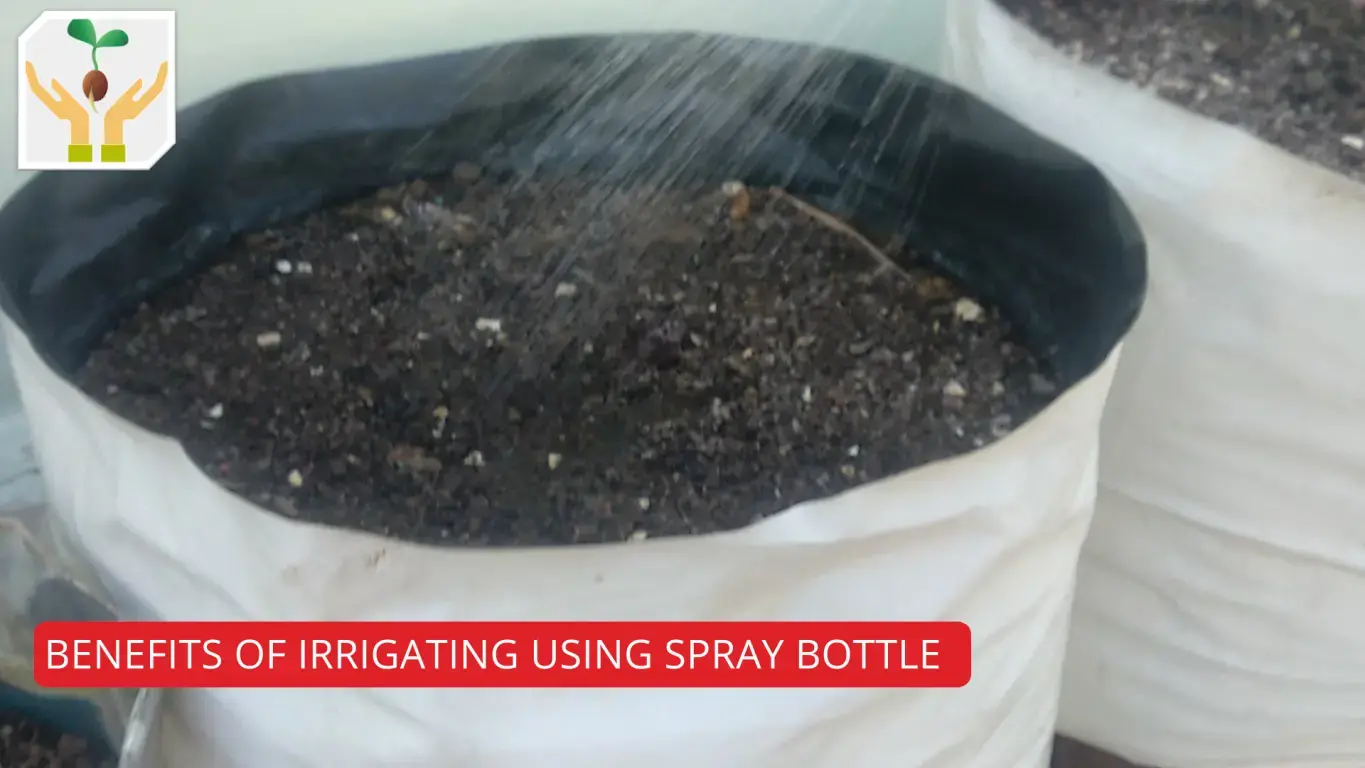
Using a spray bottle you can uniformly irrigate the soil because the fine spray does not flow away. This means when you spray water in the growing medium it will stay put till it is absorbed by it. Instead of flowing away and causing soil erosion.
Irrigating Shallow Pot using Spray Bottle
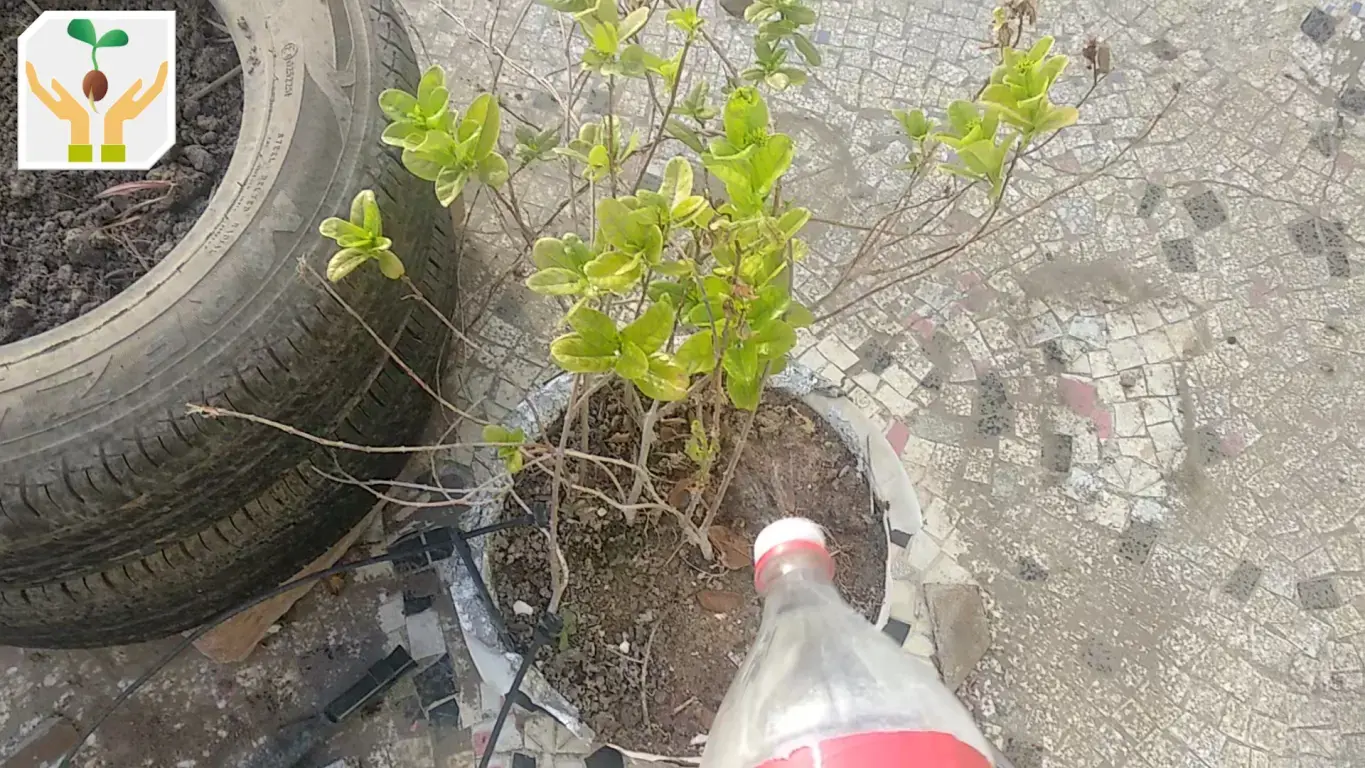
Using a garden sprayer also comes in handy when you need to water pots that do not have the depth for water to stand. The gentle water spray generated from the sprayer allows the water to be absorbed by the growing medium slowly. This prevents water from overflowing the pot and causing soil erosion.
Things Required
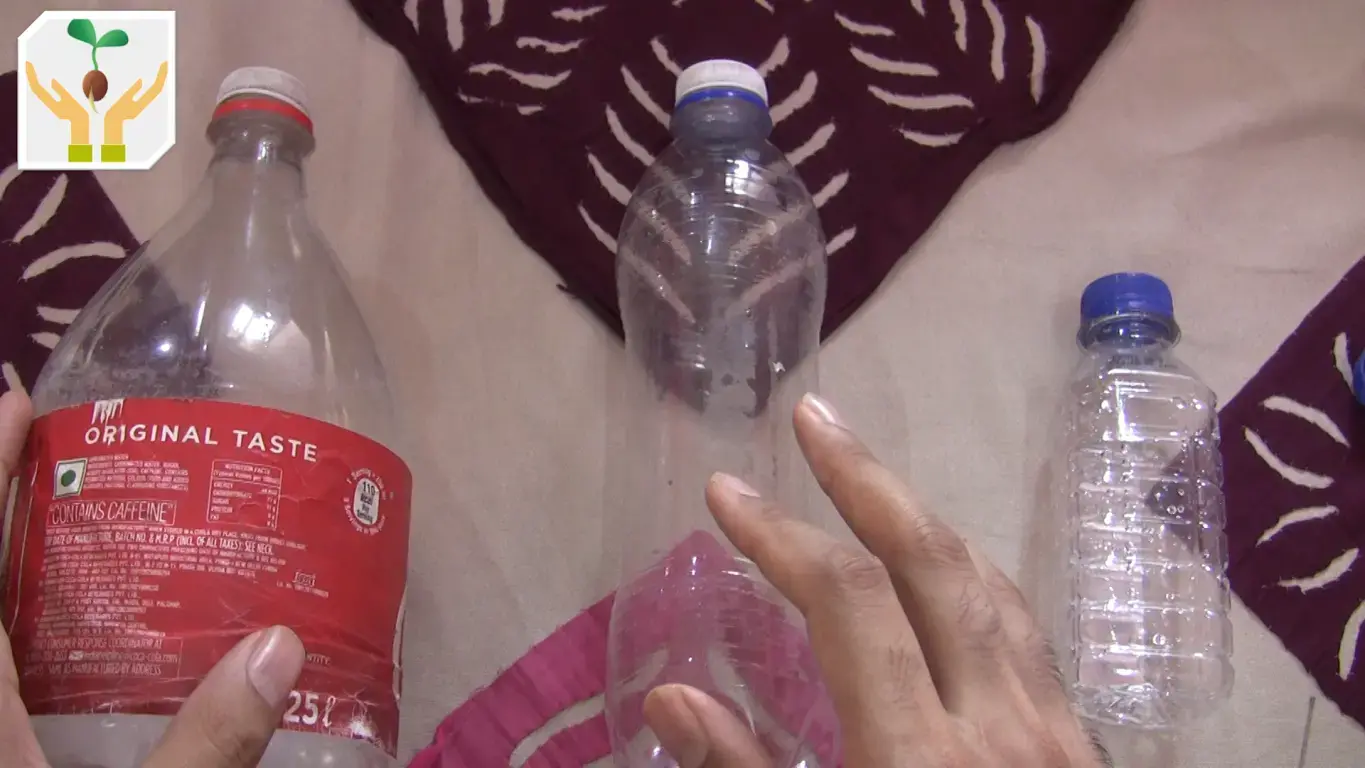
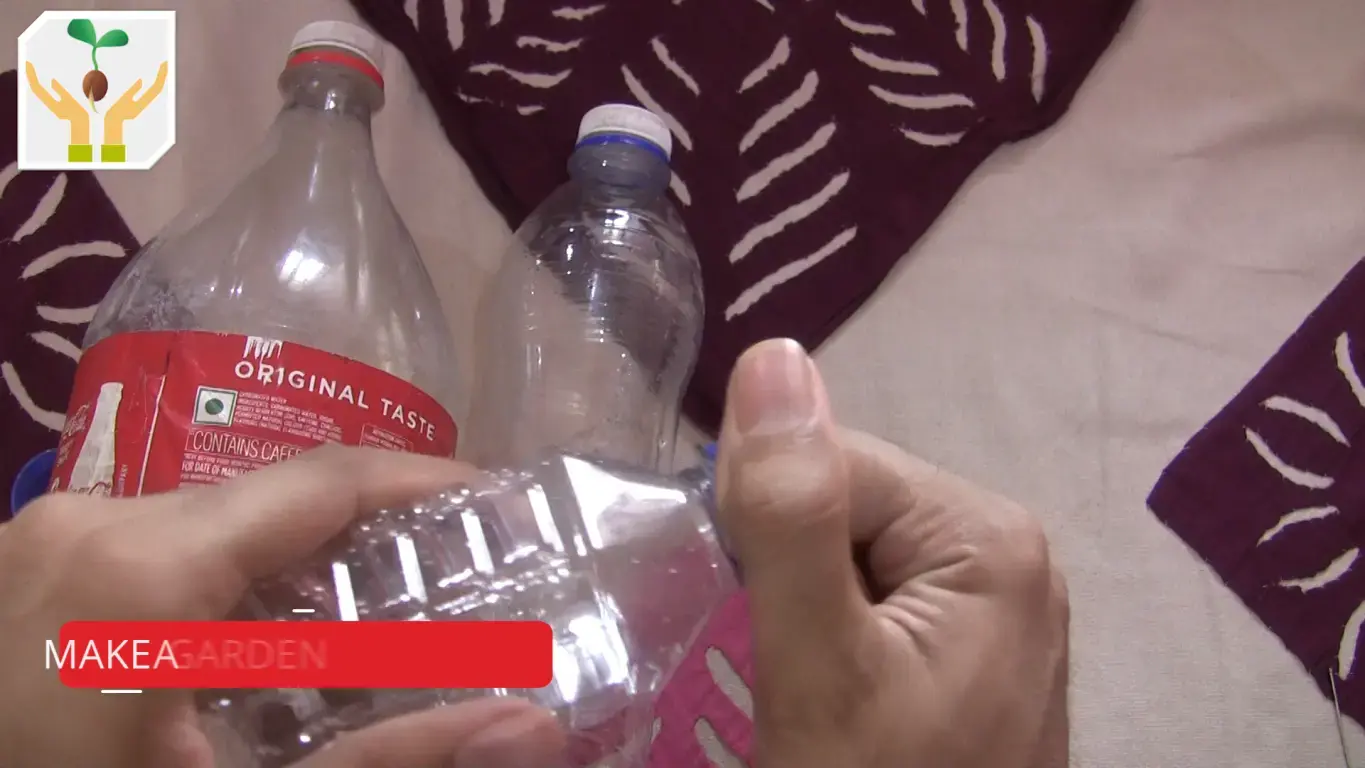
- You will need a Soda PET bottle you can use any size 2 l or 500 ml depending on how big you want your spray bottle to be.
- You will need a mineral water bottle cap because this is made from thin plastic you can easily make holes in it using a pin.
- Lastly, you will need a pin or needle the thinner the tip the better.
Make a Garden Sprayer
- Remove the soda bottle cap and screw in the mineral water bottle cap.
- Now using the pin pierce holes in the mineral water bottle cap.
- Be careful not to overlap two holes.
- Keep creating holes using the needle till the full surface area is covered.
That’s it you have now created your own DIY spray bottle. To use it simply fill the bottle with water. Invert the bottle and press it till you see a shower coming out from the cap.
I hope friends, you liked this DIY project of converting trash into gardening supplies. Using this guide you can also make your own gardening spray bottle. Don’t forget to share this video with your friends and family. If you liked this, you might also like our other gardening-related content. Make sure to subscribe to our YouTube channel or join our mailing list to be alerted as soon as a new video is released. Thanks for watching friends see you later bye.