Hi friends in this video learn how you can propagate Arabian Jasmine from stem cutting. Jasmine is a tropical plant and it has got several different varieties. The variety that we’ll be talking about is Arabian jasmine. Arabian jasmine is a native species of tropical Asia. It grows natively in south Asia as well as southeast Asia. It is the national flower of Indonesia as well as the Philippines.
▼Scan @ Video Index▼
- 00:00 Intro
- 0:10 Jasmine Plant Information
- 2:19 Reasons for Propagating
- 4:03 Select Jasmine Stem for Cutting
- 6:32 Prepare Jasmine Cuttings
- 9:33 Cutting Growing Conditions
- 11:11 Cutting Growing Medium
- 11:52 Rooting Hormone
- 12:18 Create Humidity Dome Supports
- 13:07 Hydrate the Rooting Medium
- 13:29 Add Cutting in Rooting Medium
- 15:13 Add Plastic Bag Humidity Dome
1 Jasmine Plant Information
In India, it is used in wedding ceremonies as a garland. In addition, it is used in hair decoration the Hindi term for it is called Gajara. It’s used to decorate the hair buns. As well as it’s a sacred flower so it is offered to the gods during worship.
Arabian jasmine has got a beautiful smell. Perfumes, as well as herbal tea, are made using jasmine flowers. Jasmine tea is made using freshly plucked flowers which are mixed with green tea leaves. Over one week, Tea leaves absorb the scent of the jasmine flower. After that, the jasmine flower is separated from the tea leaves. This is then sold as jasmine tea.
The Hindi name for jasmine is mogra. Jasmine can only be propagated via cutting. As it does not produce any seeds or any fruit for that matter. I will show you how you can propagate Arabian jasmine in a sweltering hot and dry climate. We are based located in India in Ahmedabad which has got an arid subtropical climate. At present, the average day’s high temperature is around 42°C. But in the coming days, it has been projected to go as high as 44 °C. Given such bad weather, I’ll show you how you can still propagate Jasmine from cutting by taking proper precautions. So without wasting much time let’s get started…
2 Reasons for Propagating
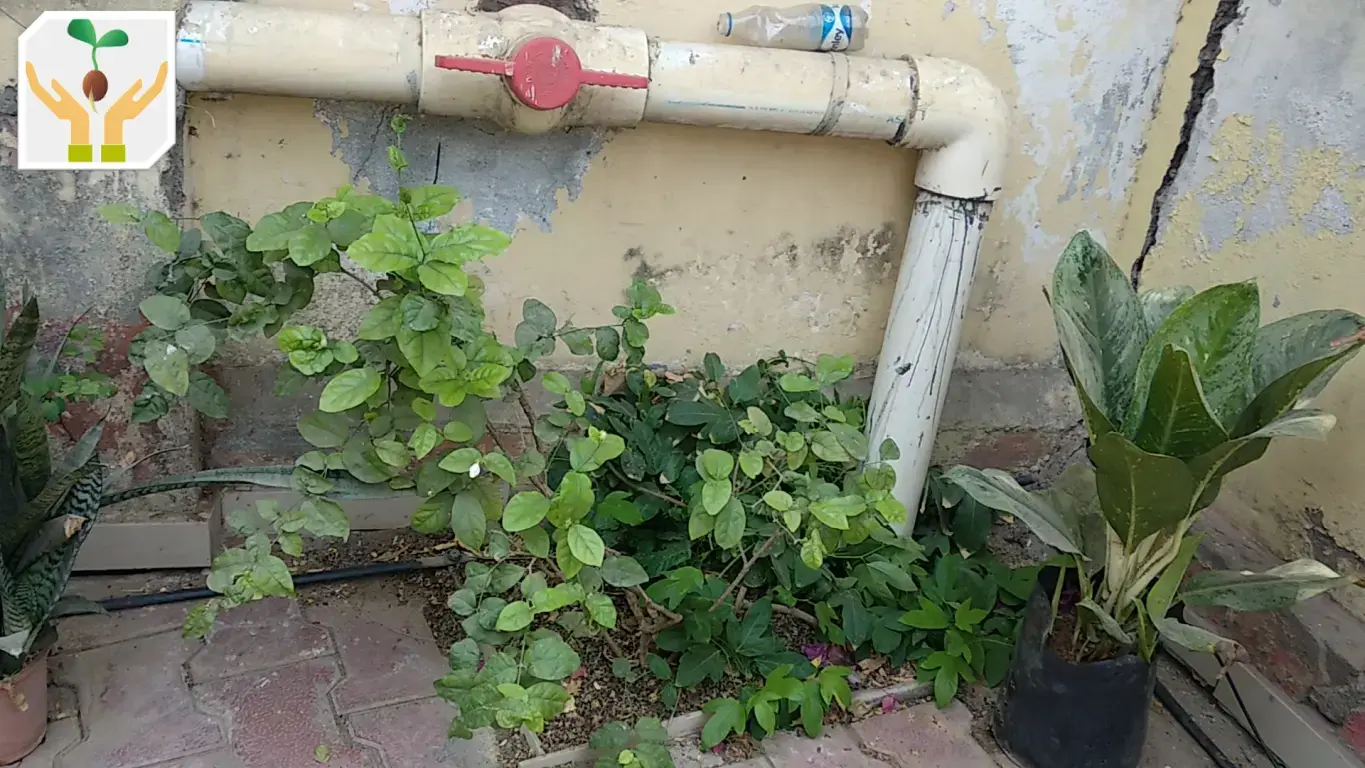
Okay friends this is my jasmine plant. As you can see it’s not very dense. It’s quite old it’s around five to six years old plant. Previously it used to get very bushy and used to flower a lot. Every year we used to cut it back and it used to grow double the size. But now the stems have grown quite old. In fact, the termite has also infected some of them. So the first reason for propagating it is to save this plant and give it a new life.
One more issue with this plant is it flowers for only 2 months in the whole year. I suspect this is because of its location. The plant is placed facing the north and so only receives full sun in March and April. In the winter season, it does not receive any direct sunlight. I think due to this it does not bloom in the winters. So the second reason for propagating this plant from cutting is to change its location. Hopefully, that will make it bloom for a longer period. So let’s start the process.
3 Select Jasmine Stem for Cutting
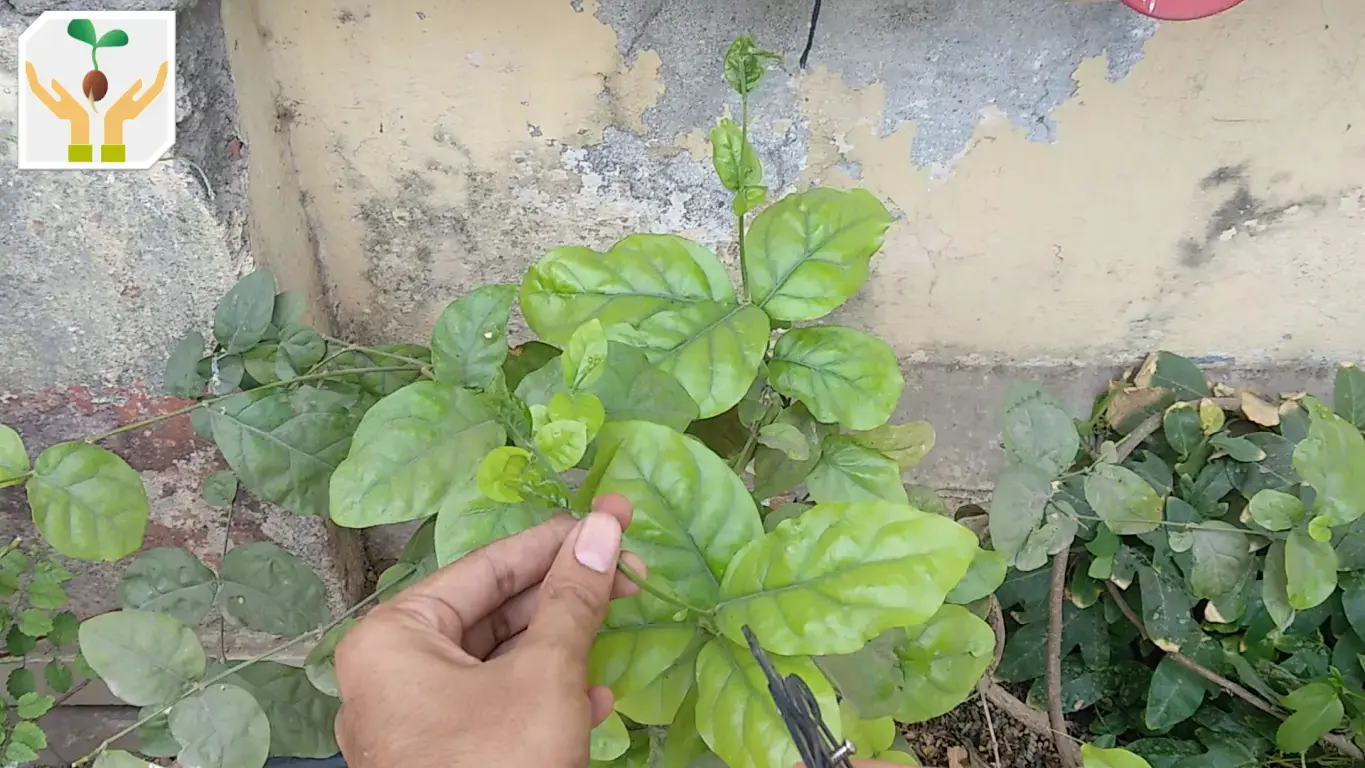
You can grow jasmine plants by cutting using softwood as well as semi-hardwood stem cutting. Softwood stem is new growth that is completely green in color and is very flexible. Whereas the semi-hardwood stem is greenish-brown in color. They are also quite firm and can not be bent without breaking. Hardwood stem is a more than 2 years old stem that is very firm and thick.
Rooting using softwood stem cuttings is easier. But plants developed from semi-hardwood cutting are stronger. They also bloom much quicker than plants grown from softwood cutting. I will take a stem cutting from both semi-hardwood and softwood. Cut the stem right below the node region. The node region is where a leaf comes out from the stem. The length of the cutting should be around 8-10 inches. After cutting the stems make sure to place them in water so that it is kept moist.
4 Prepare Jasmine Cuttings
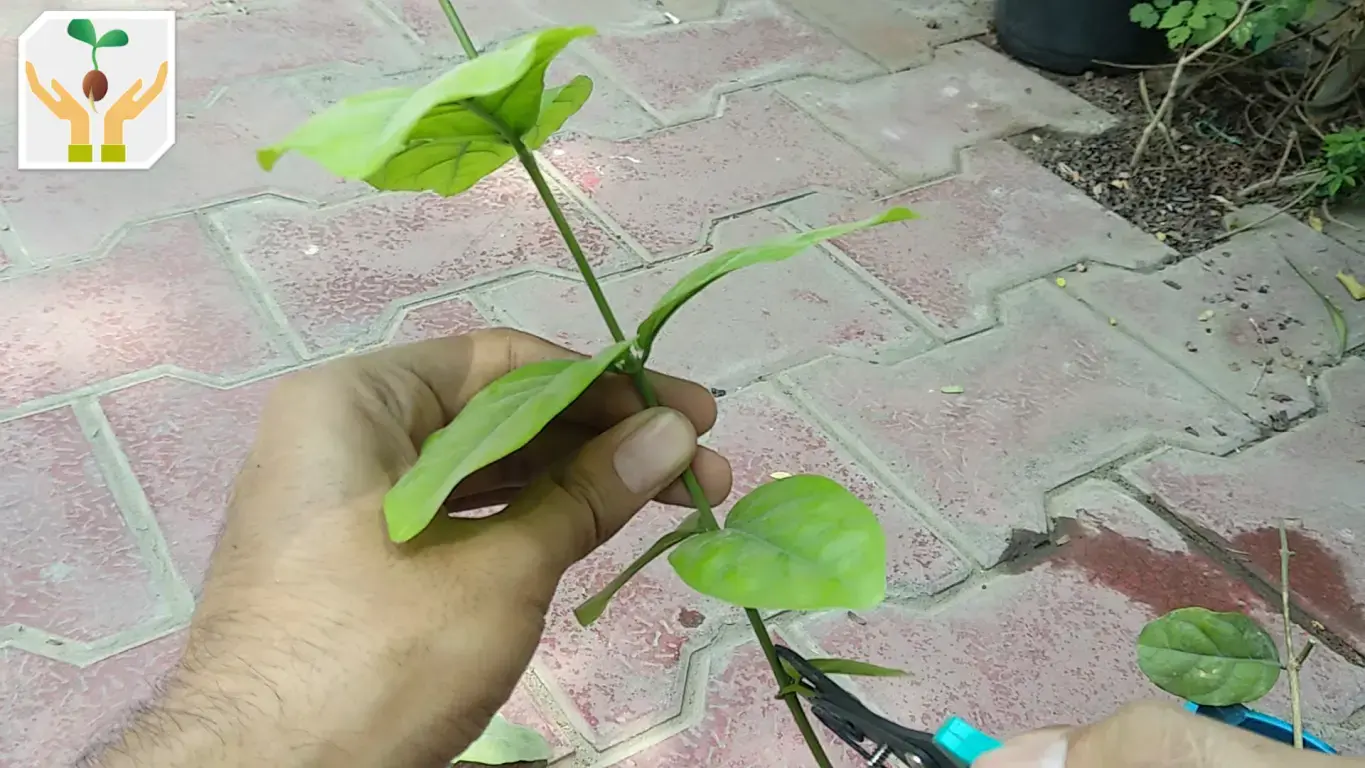
To prepare a jasmine stem for cutting you need to first remove the growing tips. Then remove any flowers or buds present on it. This ensures the stem does not waste its energy in shoot and flower growth. All the energy is now utilized in root development.
Next, remove the lower leaves to expose the 2 nodes. The node region is where the root development is most likely to start. This is because the node region has got unspecialized cells. This means depending upon the environment the node region can develop a new branch, new leaf, or a new root. So by placing 2 nodes under the soil. You are doing your chances of root development.
Next cut the leaves in half using scissors or hands. This will reduce water loss from the pores present at the bottom of the leaves. It will also reduce the space requirement in your humidity dome.
5 Cutting Growing Conditions
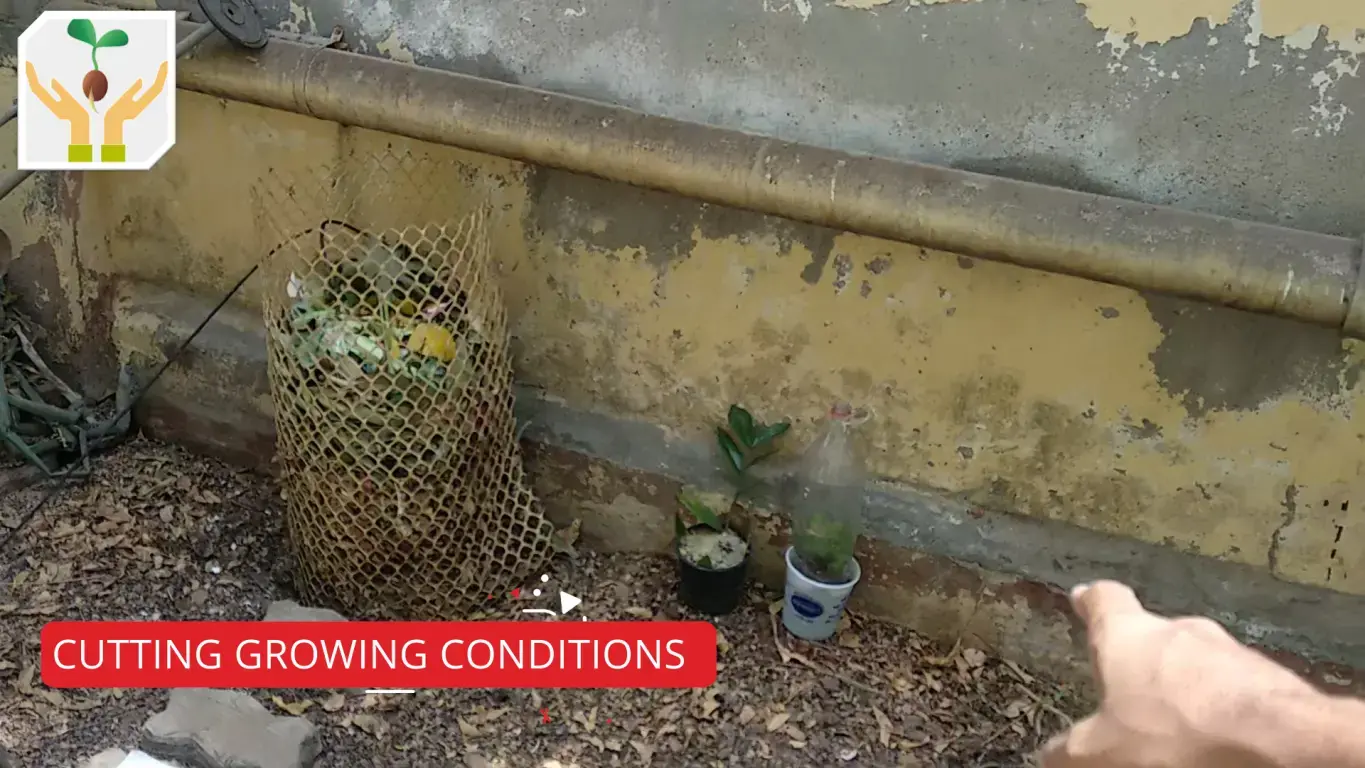
To grow plants from cutting you need to place them in a suitable growing environment. They should be placed in a place that has very high humidity. The temperature range should be 25-30°C and bright indirect sunlight is required. To achieve this I will place the cuttings facing the north. At this location, it will receive bright diffused sunlight reflected from our house wall. If you are growing in a dry climate you will also need to add a humidity dome. You can easily create a humidity dome from a plastic soda pet bottle. Simply cut the bottom part of the 2-liter soda pet bottle. Cover your pot with this pet bottle without the cap. The hole at the top allows the hot air to escape. The lighter humid air settles down in the cutting-growing region. You can also create a humidity dome using plastic polythene bags. I will show you how to do it later on in this article.
6 Cutting Growing Medium
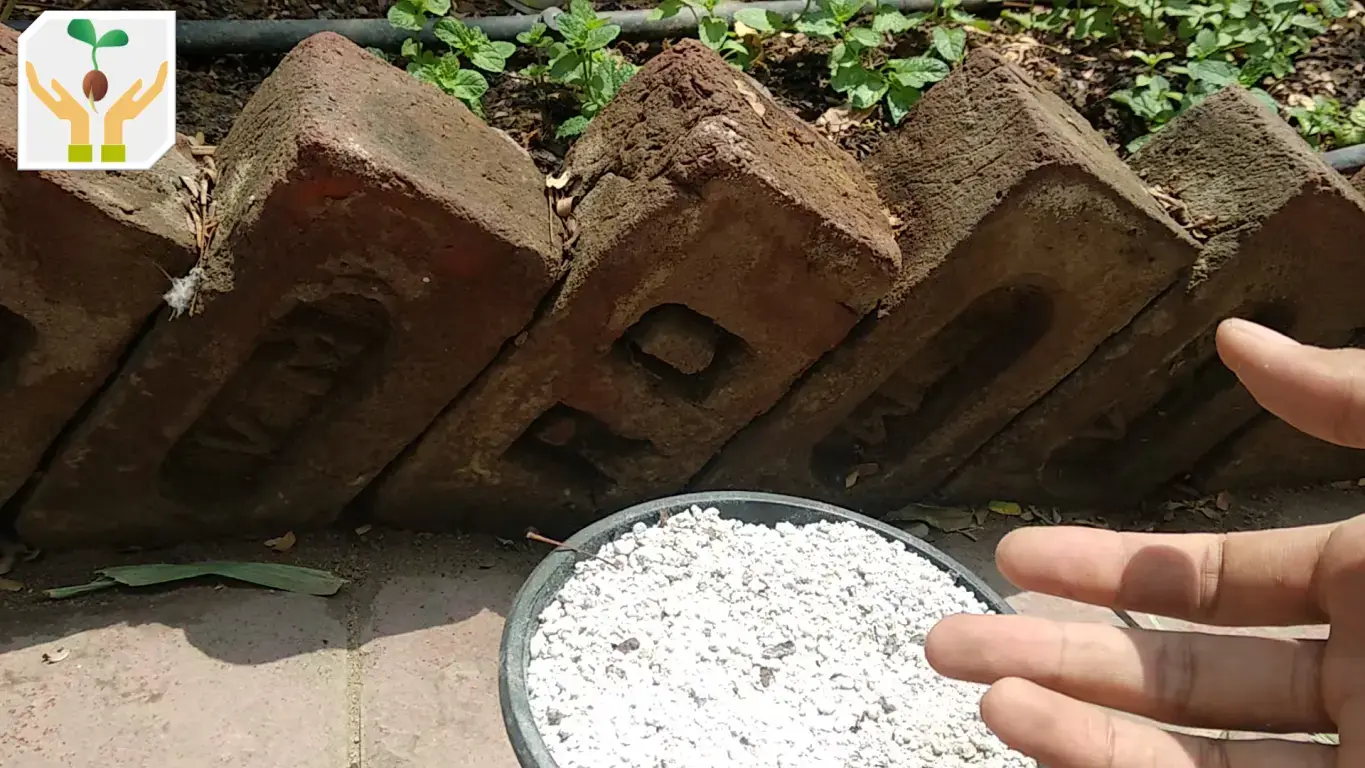
To grow cuttings the rooting medium should be light, fast-draining, and inert. Perlite checks all these boxes so we will be using it for rooting our jasmine cuttings. Other alternatives can be peat moss, coco peat, and river sand. All these are inert which means it does not support the growth of fungus and bacteria. Because the cuttings initially do not have a root system. They are vulnerable to fungus and bacteria infection. It is essential to select a medium that inhibits the growth of these pathogens.
7 Create Humidity Dome Supports

Now let’s start creating our humidity dome from a plastic bag. First, we need some kind of support for the plastic bag. This will make sure that the plastic bag does not touch the cuttings. In addition, it will prevent the plastic bag from collapsing with the wind. For the support take three sticks of equal length. They should be long enough to prevent the plastic bag from touching the cuttings. Insert the sticks in a triangular shape to provide support in all three directions. Next, we need to water the rooting medium.
8 Hydrate the Rooting Medium
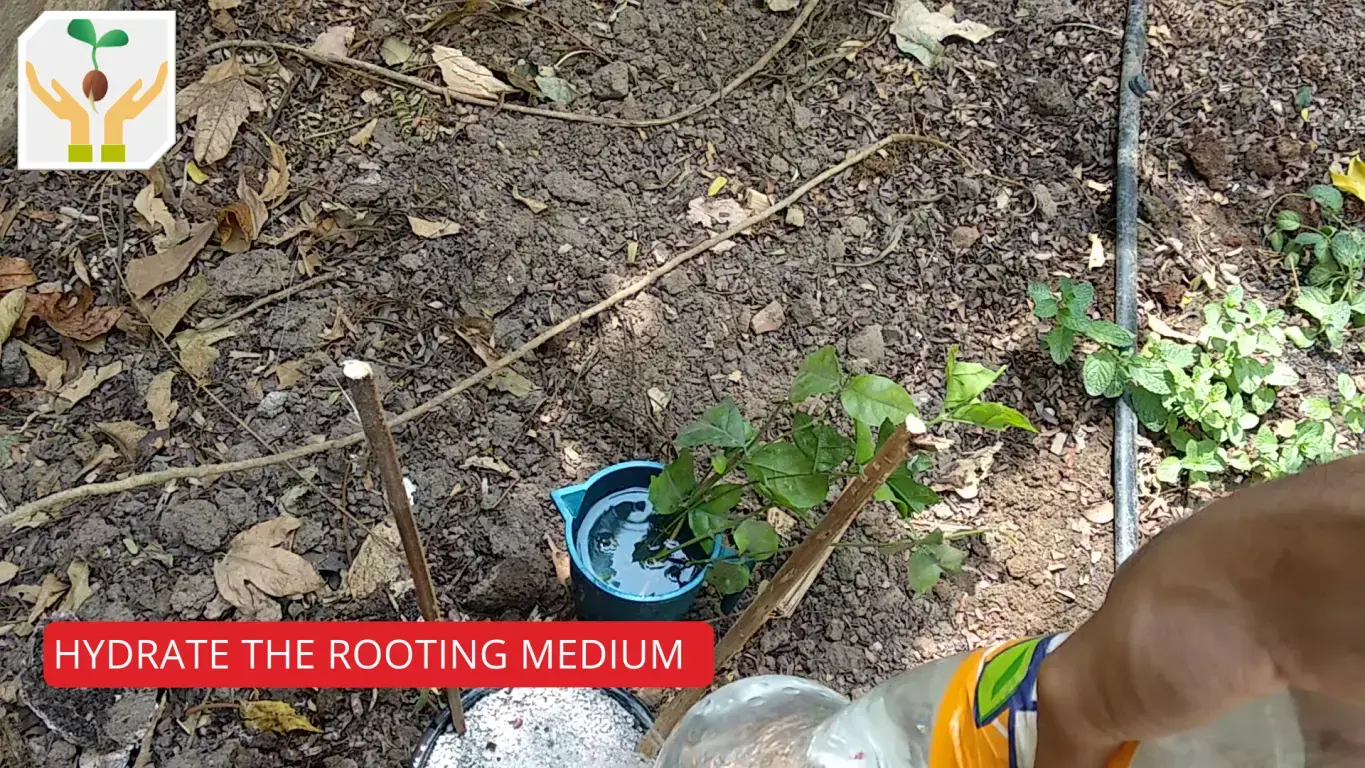
Using fine shower water the rooting medium thoroughly. Water it till you see water dripping out from the bottom of the pot. Once that happens you are sure that it’s completely saturated with water.
9 Add Cutting in Rooting Medium
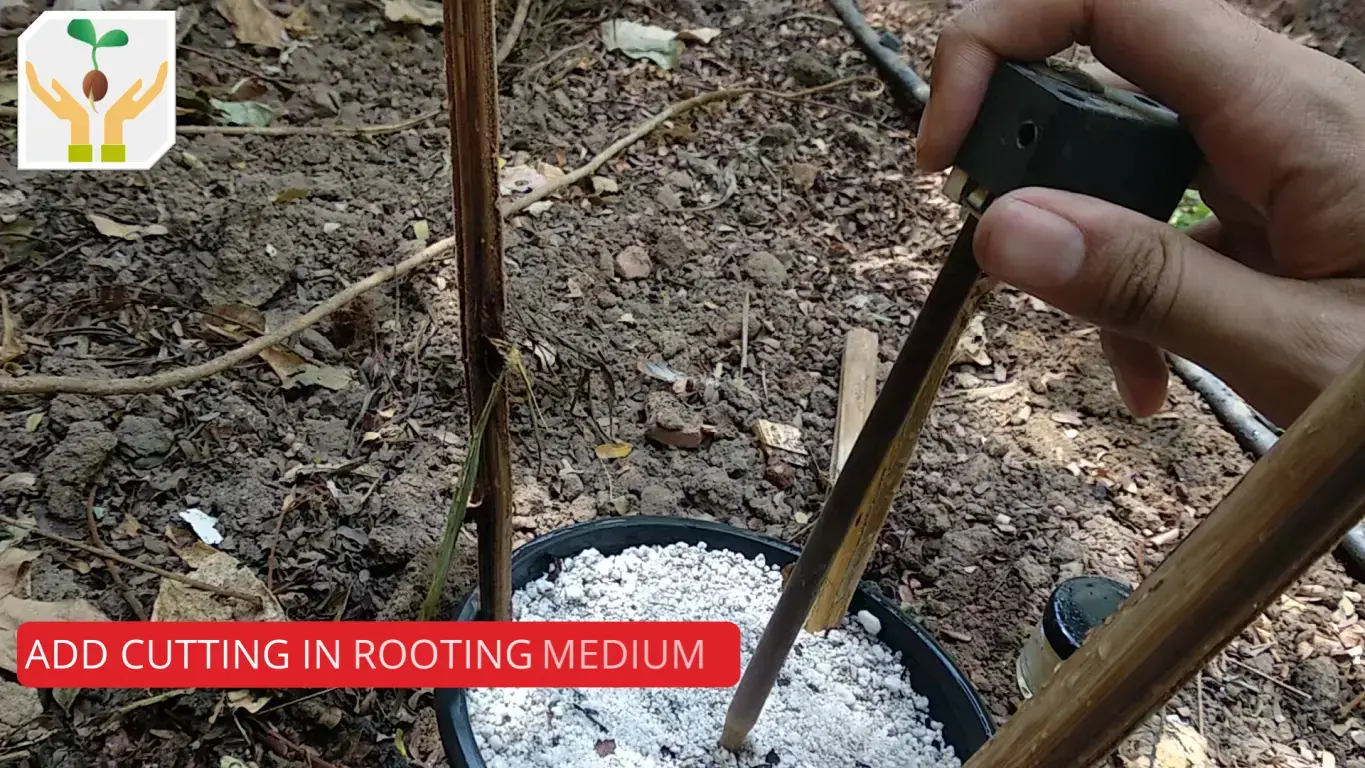
Use a pencil or your finger to create holes in the rooting medium. If you are growing a semi-hardwood cutting you should use a rooting hormone. The rooting hormone stimulates root development. It increases the chances of successful cutting root growth. Adding rooting hormone to your cutting is quite simple. Dip the rooting end of the cutting in water. Then dip the cutting in the rooting hormone powder which will stick to it. Tap the cutting to remove excess rooting hormone powder. Place the cutting in the hole created previously. Using your fingers firm up the rooting medium around the cutting. Repeat the step for the remaining cuttings. Once all the cuttings are placed in the rooting medium. Water it thoroughly so that all the air gaps between the cutting and rooting medium are filled with water.
10 Add Plastic Bag Humidity Dome
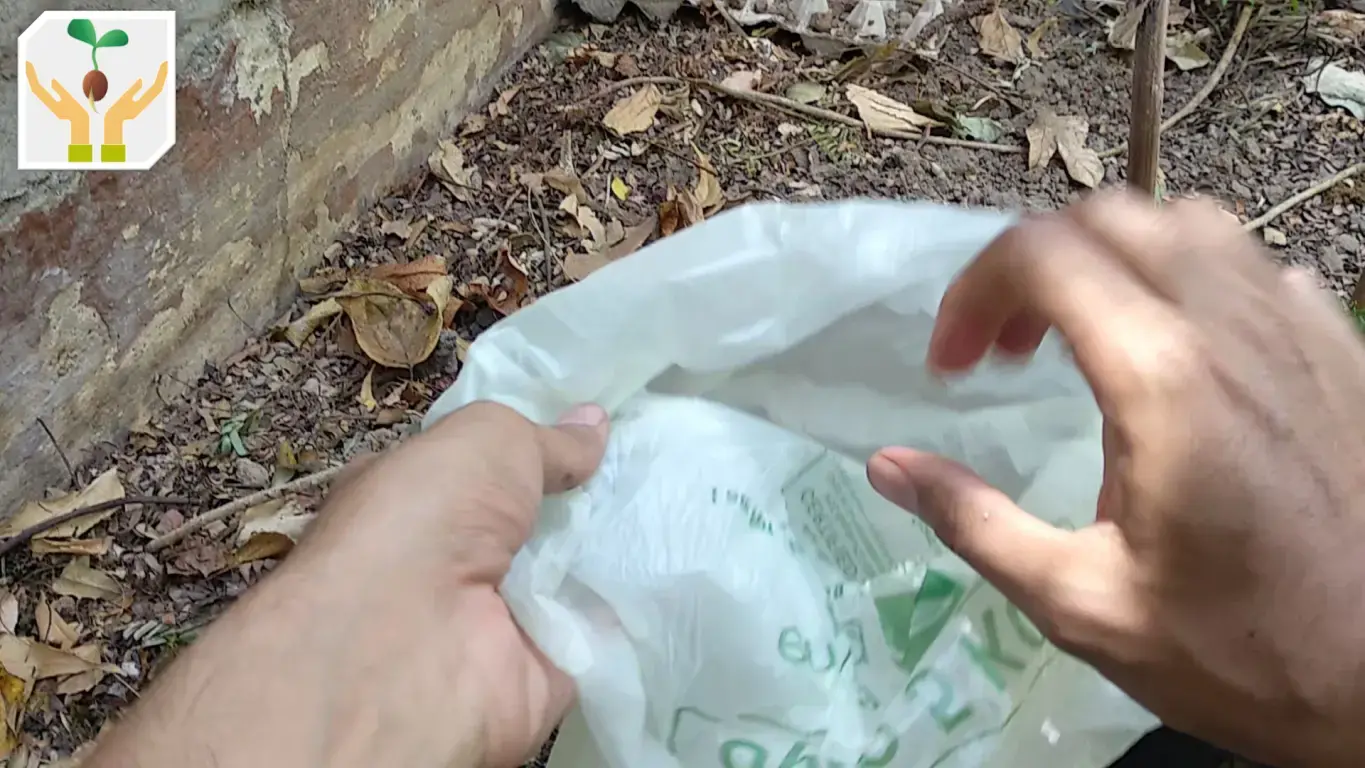
Okay, now the last step is to add the plastic humidity dome. I will use two plastic bags to create the humidity dome. One plastic bag will cover it from the bottom and the other from the top. I am using two polybags because I do not have a single big enough plastic bag to cover it completely from the top. To add the bottom plastic bag roll it and place the pot in the middle. Now unroll to the top and support it using the sticks. Now add the second plastic bag similarly from the top. Roll the plastic bag and place it on the stick supports. Now from the top unroll it downwards to overlap the bottom plastic bag. Now create a small went at the top by making a hole. Add a mineral water bottle top to support the went in place.
10 Result After 4 Months Transplantation

This is part 4 of the Jasmine Cutting Propagation series. In this video, we look at the result of the cuttings after 4 months. I will share with you the soil mix and container size for growing Jasmine in containers.
▼Scan @ Video Index▼
- 00:00 Intro
- 00:16 Jasmine Propagation Using Cutting Part 1
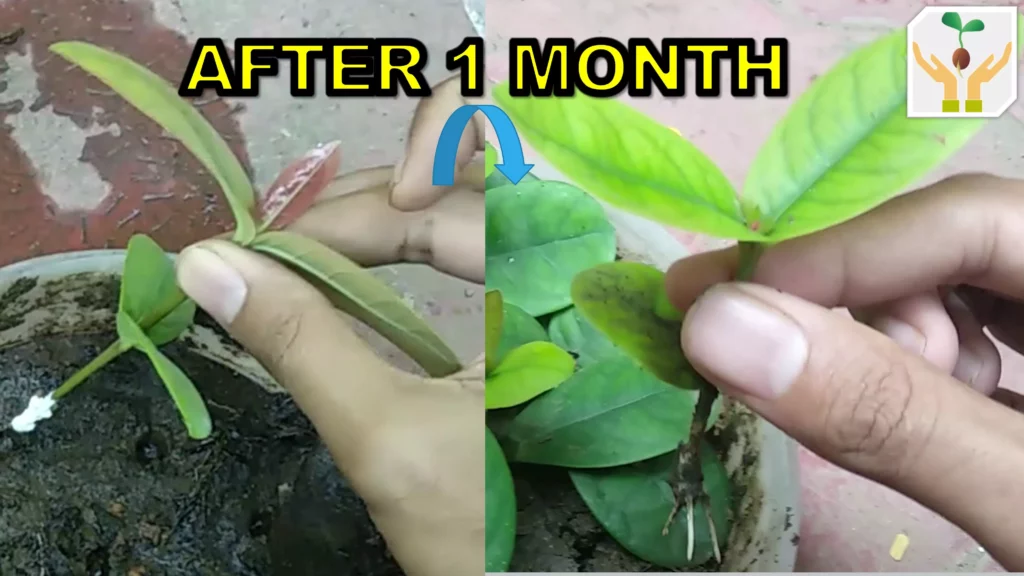
- 00:54 Result After 3 Months
- 01:00 Nice Vigorous Shoot Growth
- 01:20 Hardwood Cutting Didn’t Survive
- 01:30 Transplanted Early Or Too Much Sun
- 01:44 Transplant Cutting to 15-Inch Pot
- 01:56 50% Garden Soil + 48% Aged Pegion Manure
- 02:08 Natural Pigeon Manure
- 02:31 1% Bone Meal
- 02:37 How To Make Bone Meal
- 02:45 1% Banana Peels
- 03:07 How to make Banana Peel Fertilizer
- 03:19 Potting Mix Should Be Well Draining
- 03:34 Increased The Drainage Hole Size
- 03:46 Added Granite Gravel on Drainage Hole
- 03:54 Transplant Jasmine Cutting to 15-Inch Pot
- 04:03 Remove Plant from The Pot
- 04:29 Place Jasmine Plant in Middle
- 04:36 Scratch the Root Ball at the Bottom
- 04:52 Jasmine Plant After 4 Months
- 05:02 Blooming in Rainy Season
I hope friends, you liked this detailed step-by-step guide. Showing how to grow Arabian jasmine Mogra from cuttings at your home. If yes, don’t forget to share this video with your friends and family whom you think could benefit from it. If you liked this, you might also like our other gardening-related content. Make sure to subscribe to our YouTube channel or join our mailing list to be alerted as soon as a new video is released. Thanks for watching friends see you later bye.